Now Reading: How to Shape Nails: Squoval, Almond, Square & More
-
01
How to Shape Nails: Squoval, Almond, Square & More
How to Shape Nails: Squoval, Almond, Square & More
How to Shape Nails at Home: Squoval, Almond, Square & More
Quick Answer: To shape nails perfectly, start with cleaning nails thoroughly, then dry and gently file (180 grit or higher). Never file back and forth but rather file in one direction only to avoid weakening the nail plate. Work from the outer edge toward the center of the nail in order to create your chosen shape, like square, round, oval, almond, or squoval. After that, finish by smoothing the tip with light strokes.
You finally got your nails to a length you like, or your last manicure chipped at the edges, so now you’re staring at them, wondering what comes next, and you’re not sure how to file them back into shape without making things worse. Or you never figured out why your DIY shape never looks as clean as the one from your nail tech.
The good news is that learning how to shape nails is not related to talent, but what really matters is technique. This post covers the exact filing methods that keep your nail plate strong, along with breaking down how to create every major nail shape look, including soft round to sharp almond shape, and it also helps you to figure out which shape actually suits your fingers. After a thorough look at this post, you’ll know exactly what to do with a file in your hand.
In This Post
- How to File Your Nails the Right Way (The Basics Everyone Skips)
- Filing Mistakes That Ruin Your Shape (and Weaken Your Nails)
- The Most Popular Nail Shapes and How to File Each One
- How to Pick the Right Nail Shape for Your Fingers
- When Nail Shape Can Affect Nail Health
- Frequently Asked Questions About Nail Shapes
How to File Your Nails the Right Way (The Basics Everyone Skips)
What is the biggest mistake is that most tutorials start straight telling “here’s how to make almond nails” without ever explaining the mechanics underneath each shape. Once you understand how to file nails correctly, every shape becomes easy to recreate on your own.
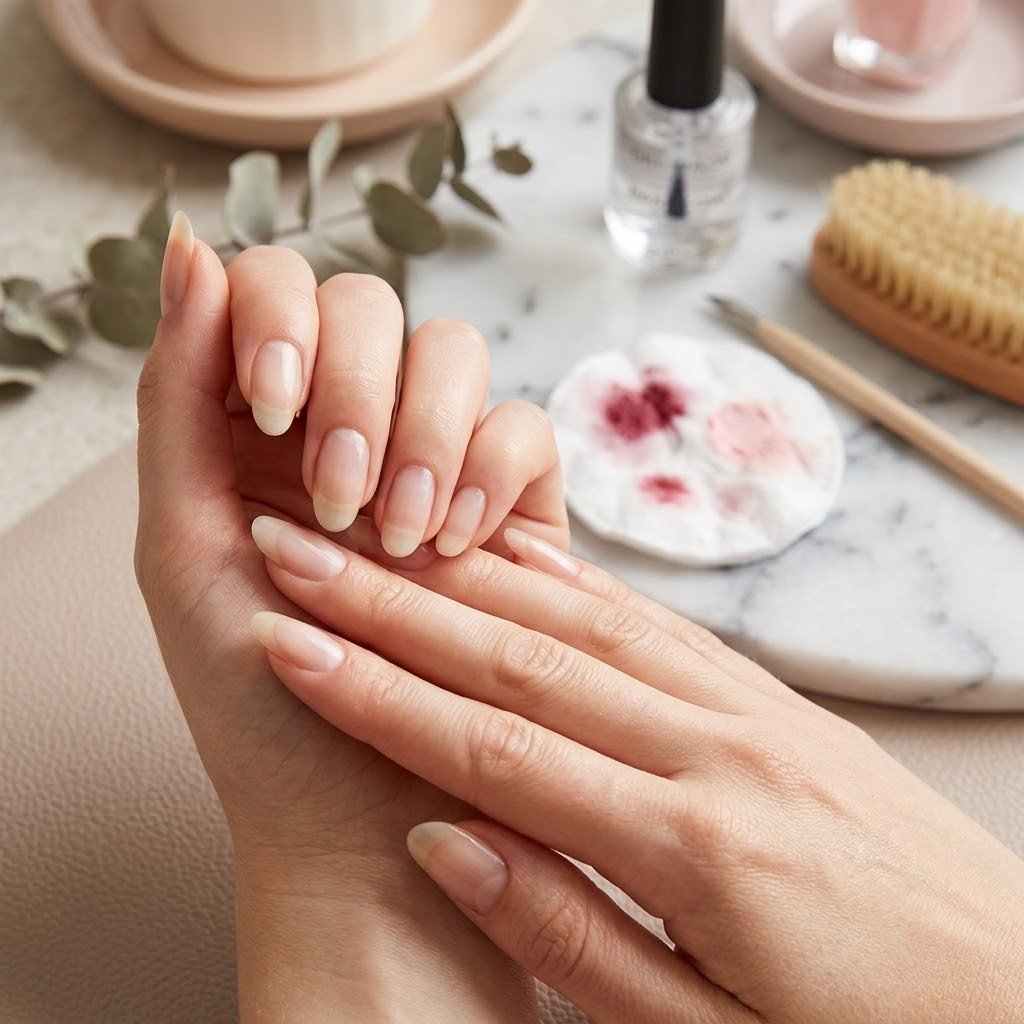
Make sure you start with dry nails because wet nails are soft and more likely to peel or split as you file, so save the soak for after you’re done shaping your nails. This matters even more as your nails get longer, since the free edge has less natural support. Coarser files are too aggressive and can shred the free edge, so choosing a fine-grit file that’s something in the 180 to 240 grit range is a good choice, as it works well for natural nails.
Filing direction is the step where almost everyone gets it wrong. Dermatologists consistently recommend moving your nail file in one single direction across the edge of the nail instead of scrubbing it back and forth like a saw, which can cause several splits and damage from the heat produced. Continual back-and-forth filing is exactly the kind of habit that ultimately leads to peeling and brittle nails.
Work from the outer corner of the nail inward toward the center and keep lifting the file slightly at the end of each stroke. This habit may seem small, but this single habit protects the nail’s structural integrity more than almost anything else you’ll do in your routine. Our professional experience has shown that switching to one-direction filing alone makes a noticeable difference within a few weeks.
Inspect your nail from multiple angles to make sure that both sides are shaped evenly. Try checking straight on and from above as well as from the side, then finish the filing.
Filing Mistakes That Ruin Your Shape (and Weaken Your Nails)
Having a clean nail shape done depends much on what you avoid and what you do, and avoiding the following mistakes will get you there easily.
Sawing back and forth. This may feel faster, but it is the single biggest culprit behind weak and splitting nails that’s not worth it.
Using a metal file on natural nails. Metal files are typically too harsh for natural nail plates as they don’t provide the control that a glass or fine-grit emery file provides, along with gentle rubbing.
Filing nails right after a shower or bath. Nails absorb water and soften temporarily, which makes them more prone to tearing under file pressure, so you must always wait until they’ve fully dried.
Skipping the “check from all angles” step. A look from different angles is compulsory because shapes that look even from the top can be lopsided from the side.
Forcing a shape on your nail bed doesn’t support. Trying to force a sharp square shape onto a very curved nail bed results in an uneven and awkward-looking edge, no matter how careful the filing actually is.
Filing too short, too fast. Removing length gradually gives you more control over the final shape than trying to get there in just one aggressive pass, which often leads to mistakes.
The Most Popular Nail Shapes and How to File Each One
There are dozens of nail shapes circulating on Pinterest boards every single day, but almost all of them are actually minor variations on a handful of foundational shapes that everyone should know. Once you understand these, you can easily recreate nearly any look a nail tech can.
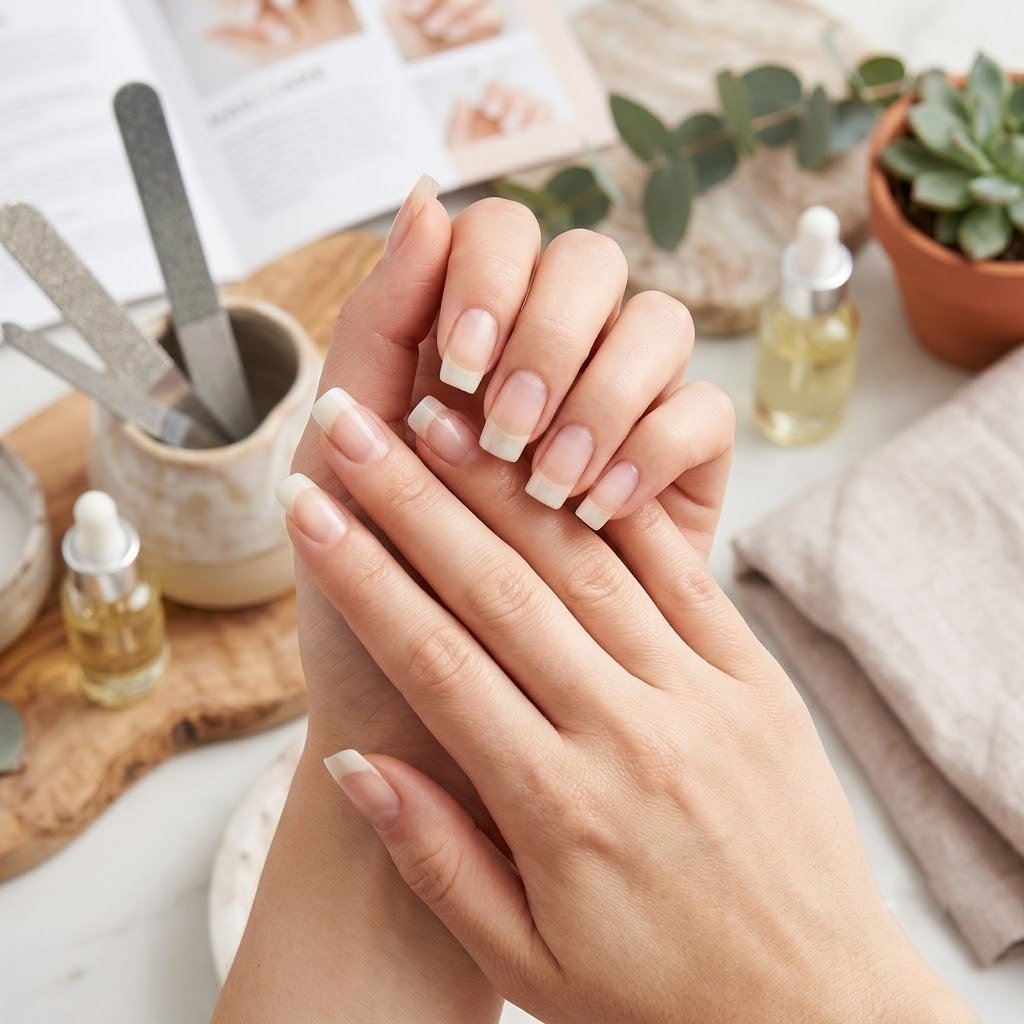
Square Nails
Square nails have a flat top edge and sharp corners that give a clean and structured look. File the sides straight down while keeping them parallel to each other, then file the tip straight across in a single motion and keep the line level. This specific shape works best on nails that are already fairly straight along the nail bed and does not require too much extra shaping.
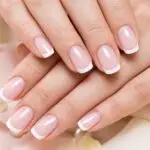
Round Nails
Round nails follow the exact natural curve of your fingertip, and if you want a look that is both durable and elegant, then they are one of the absolute lowest-maintenance shapes you can possibly choose. File the sides in very gently, then round the tip to match the curve of your finger so that there’s no sharp corner here at all but instead just one smooth and continuous arc.
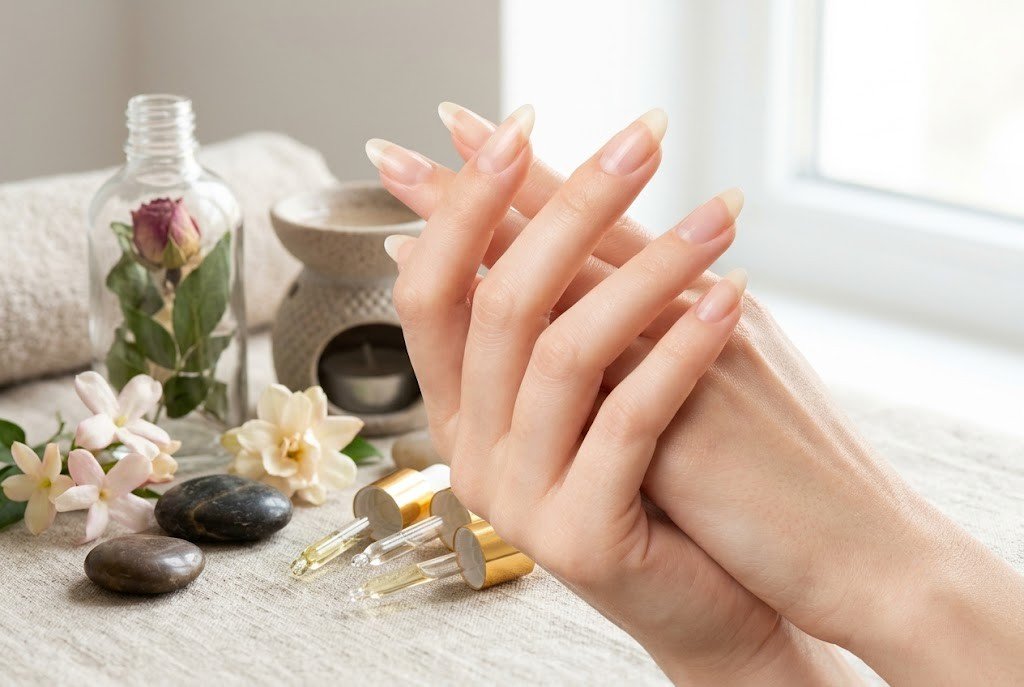
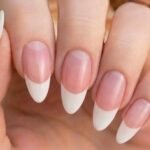
Oval Nails
Think of an oval as a slightly elongated version of a round that creates a much more elegant appearance for your nails. File the sides in a touch more than you would for round nails, and then shape the tip into a soft rounded point rather than a flat edge. This shape tends to make nail beds appear slightly narrower, which gives a sleek look for any hand type.
Squoval Nails
Squoval nails blend square and oval, hence the name. File the sides relatively straight, like a square shape, but soften the corners by rounding them slightly where the side meets the tip. The final result is a beautiful shape with the strength and durability of a square but without those sharp corners that catch on things.
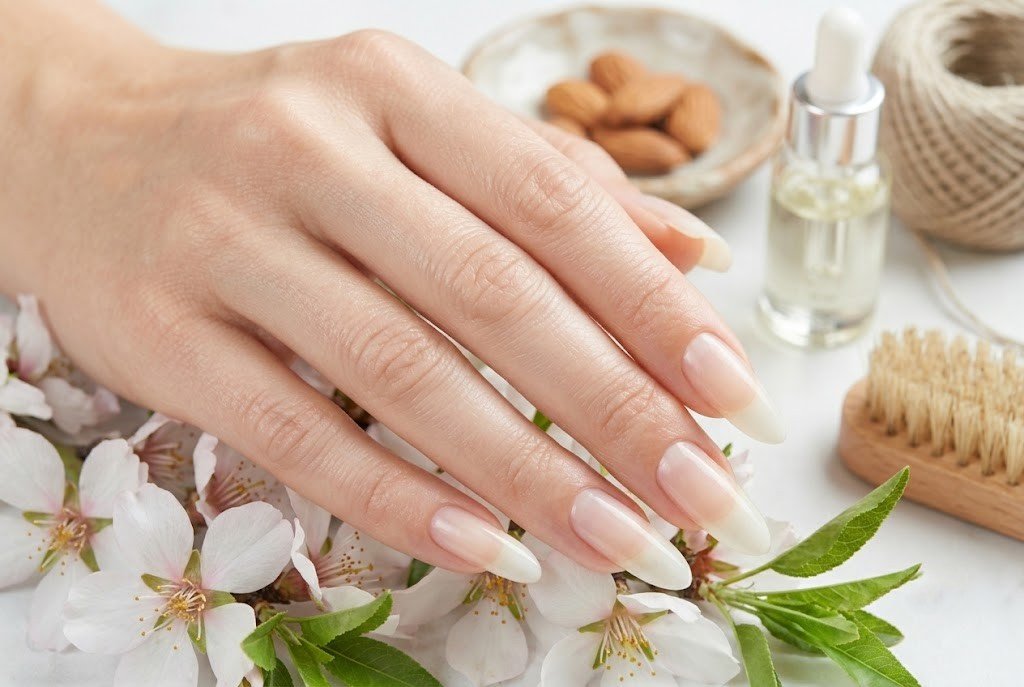
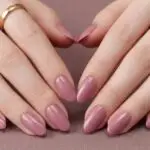
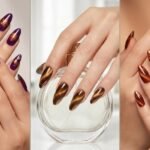
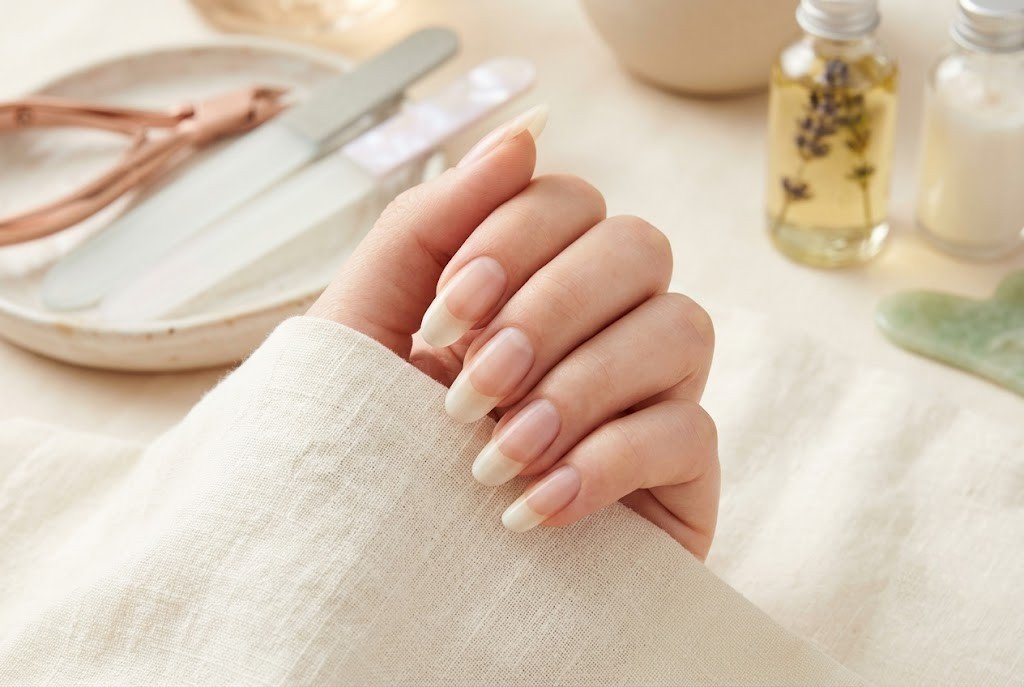
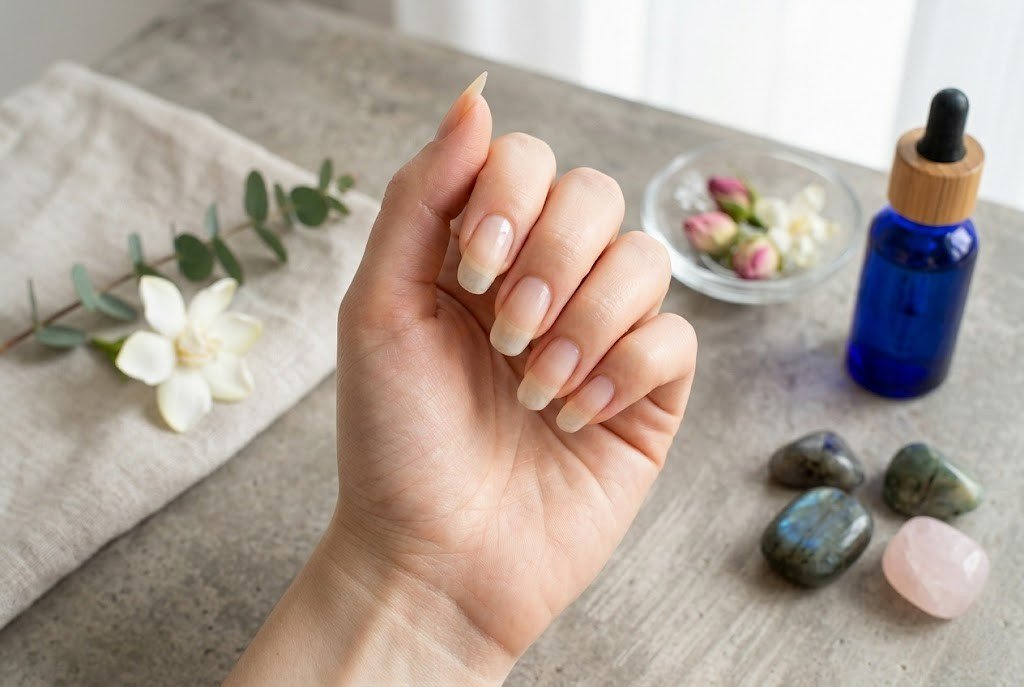
Almond Nail Shape
The almond nail shape tapers in toward a softly pointed tip in a way that perfectly mimics the profile of the nut it’s named after. File the sides inward at an angle as you move toward the center and then round off the very tip slightly rather than leaving a sharp point. This shape needs a decent length to look intentional and stylish rather than looking like some filing mistake.
Coffin and Stiletto Nails
These two shapes are dramatic variations that usually require a lot of extra length or extensions to look perfectly balanced and flattering on your hands. Coffin nails, which are also called ballerina nails, taper down to a flat, squared-off tip, while stiletto nails taper all the way to a very sharp point. Both are filed using the same inward-tapering motion as almond by just carrying further straight to a flat edge for coffin and all the way to a point for stiletto.
How to Pick the Right Nail Shape for Your Fingers
A nail shape chart can only tell you so much. The shape that actually flatters you depends heavily on your nail bed width and finger length rather than just being a matter of personal taste or trend preferences.
If you have shorter fingers or wider nail beds, then tapered shapes like oval or almond tend to create a slimming and elongating effect. If your fingers are already long and narrow, then square or squoval nails can add a bit of visual width and balance since you don’t need extra elongation.
Not sure where your nail bed falls? Push your cuticles back gently and look at the natural shape of your nail bed without polish. A nail shape that closely follows that natural outline instead of fighting against it is usually the easiest one to maintain long term, and it also serves as one of the best general guidelines among the many finger nail shape options out there.
When Nail Shape Can Affect Nail Health
Your nail shape isn’t purely cosmetic because it also affects how well your nails hold up day to day. Sharp corners of square shapes are more prone to snagging on fabric or hair, which can lead to tears starting at the corner and running down the nail plate.
Long and dramatic shapes like stiletto or coffin put more leverage on the free edge and make nails more likely to crack under pressure if they are already on the weaker side. If you notice your nails breaking or splitting at free edges repeatedly, regardless of shape, then it’s worth speaking with a dermatologist since that pattern can sometimes point to something beyond simple filing habits.
Frequently Asked Questions About How to Shape Nails
What nail shape suits me best?
It depends on your nail bed width and finger length. Shorter fingers or wider nail beds tend to look more balanced with tapered shapes like oval or almond, while longer and narrower fingers often suit square or squoval shapes well.
How do I file my nails correctly without weakening them?
File in one direction only using a fine-grit file on dry nails, never back and forth. This protects the nail plate’s natural layers and significantly reduces peeling and splitting over time.
What’s the difference between oval and almond nails?
Oval nails have a fuller and rounder tip while almond nails taper in more sharply toward a softer point. Almond nails also typically need more length to look proportional.
What’s the best nail shape for short nails?
Round and squoval shapes tend to work best for shorter nails since they don’t require extra length to look intentional and are naturally lower maintenance.
Do I need special tools to shape my nails at home?
Not really. A basic glass or fine-grit emery file and a good pair of nail clippers are enough to shape nails at home, and you don’t need salon-grade tools to get a clean result.
Shaping your nails really comes down to two things: understanding correct filing technique and choosing a shape that works with your natural nail bed instead of against it. Once you know how to shape nails properly, every manicure gets faster, and the results get more consistent. Making a one-direction filing habit makes every shape on this list far easier to recreate consistently for every next manicure.
Give yourself a little grace as you practice, even nail techs didn’t get it perfect on the first try. If your nails have been feeling weak or prone to breaking lately, our guide on how to strengthen weak nails is a natural next read.