Now Reading: At-Home Manicure: 8 Steps to Salon-Perfect Nails
-
01
At-Home Manicure: 8 Steps to Salon-Perfect Nails
At-Home Manicure: 8 Steps to Salon-Perfect Nails
At-Home Manicure: Get Salon-Perfect Nails Every Time
You spend hours sitting down with your polish and take time only to see chips two days later, meanwhile, your salon manicure somehow survives a full week of endless dishes and typing, along with constant daily life, without even a scratch. The secret is almost never the polish itself because the durability relies on the precision of steps that happen before a single drop of colour touches your nail plate. Most guides skip those crucial steps entirely or cover them so briefly that they might as well not exist, since you learn nothing helpful.
This comprehensive post walks you through a complete at-home manicure from start to finish, including the all-prep step that you might not know as a beginner, so you can have salon-quality results from an at-home manicure. It also covers a proper polish application technique along with a simple routine to keep your manicure flawless for days longer than you are used to. Follow this once to understand exactly why your previous attempts chipped so fast and how to stop it from happening again.
In This Post
- What Does an At-Home Manicure Actually Include?
- Everything You Need Before You Start
- How to Do a Manicure at Home: Step by Step
- How to Paint Nails Perfectly
- How to Make Nail Polish Last Longer
- Mistakes That Ruin an At-Home Manicure
- Frequently Asked Questions About At-Home Manicures
Quick Answer: The entire process for a perfect at-home manicure involves eight core steps, including removing old polish, shaping the nail plate, caring for your cuticles, dehydrating the nail surface, applying a base coat, applying two thin colour coats, sealing with a top coat, and wrapping the free edge. Thorough nail prep, especially the dehydration step, is exactly what decides the longevity of a manicure. The full manicure steps take about 45 to 60 minutes.
What Does an At-Home Manicure Actually Include?
A manicure refers to a proper nail treatment, including shaping and cleaning of nails by keeping the health conditions of the nails and the skin around them in mind. The new colour is applied after doing all preps thoroughly so it adheres properly and stays.
Skipping the prep steps creates a dramatic problem because the water and oils that the nail plate absorbs remain there and don’t let the polish bond cleanly to the surface. It causes polish to gradually lift and peel at the edges within days.
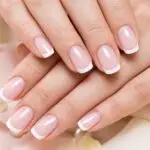
A proper at-home manicure can simply give salon-quality results when the nails are treated first and then painted.
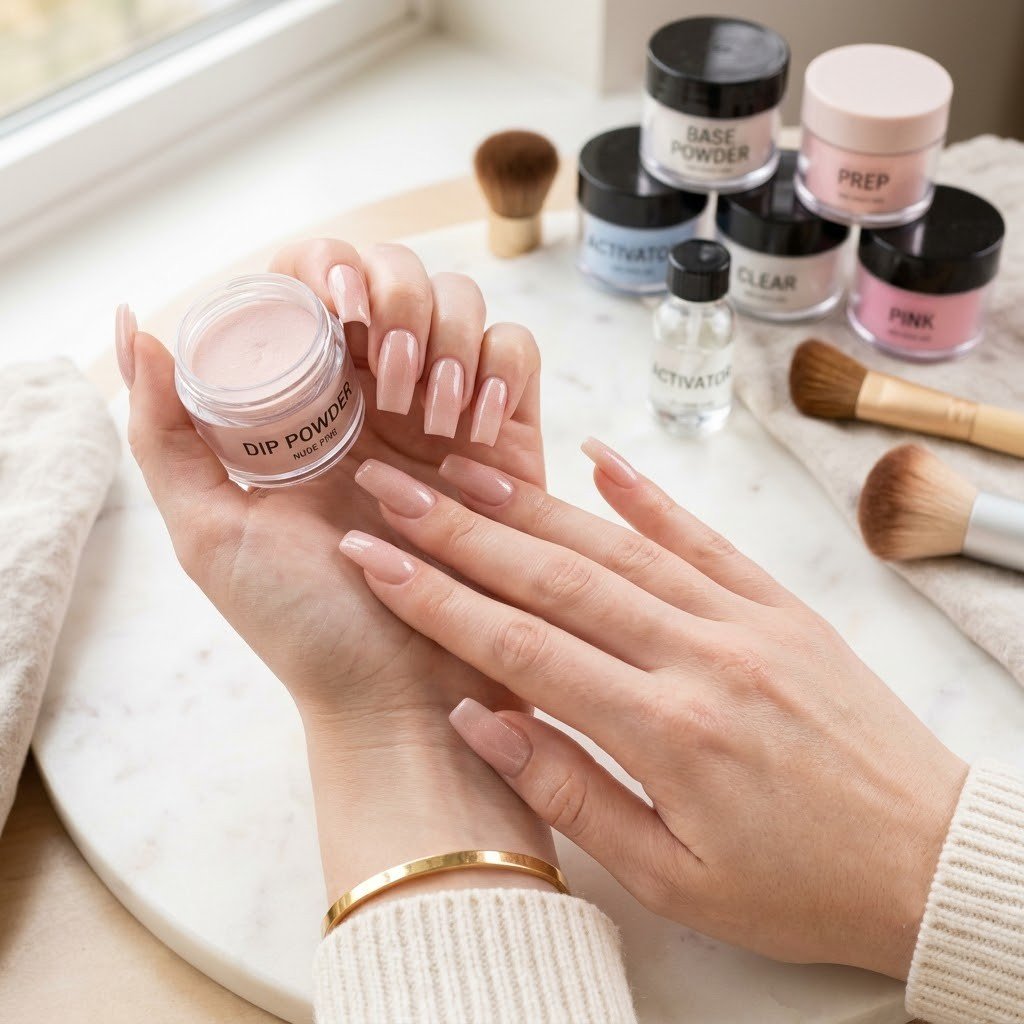
Everything You Need Before You Start
You do not need an expensive kit at all, but you absolutely do need the right basics. Attempting a manicure without a base coat or a proper nail file is just like painting a wall without primer because the final look falls short and reduces the lifespan of the manicure.
What to have ready:
- Nail polish remover, an acetone-based product, strips away the old polish faster and degreases the nail plate more effectively
- Nail clippers and a nail file. Glass files are gentler on the nail edge than metal files
- A nail buffer smooths ridges on the nail plate surface for better polish adhesion
- A cuticle pusher is usually an orange wood stick or rubber-tipped tool, not metal
- Cuticle oil for conditioning after you push back cuticles
- Base coat is a must, as this is what the polish actually sticks to
- Nail polish, your colour choice
- Top coat seals everything and adds shine and durability
One more thing worth having is a small flat brush and a little acetone in a cup for clean-up. More on that in the technique section.
How to Do a Manicure at Home Step by Step
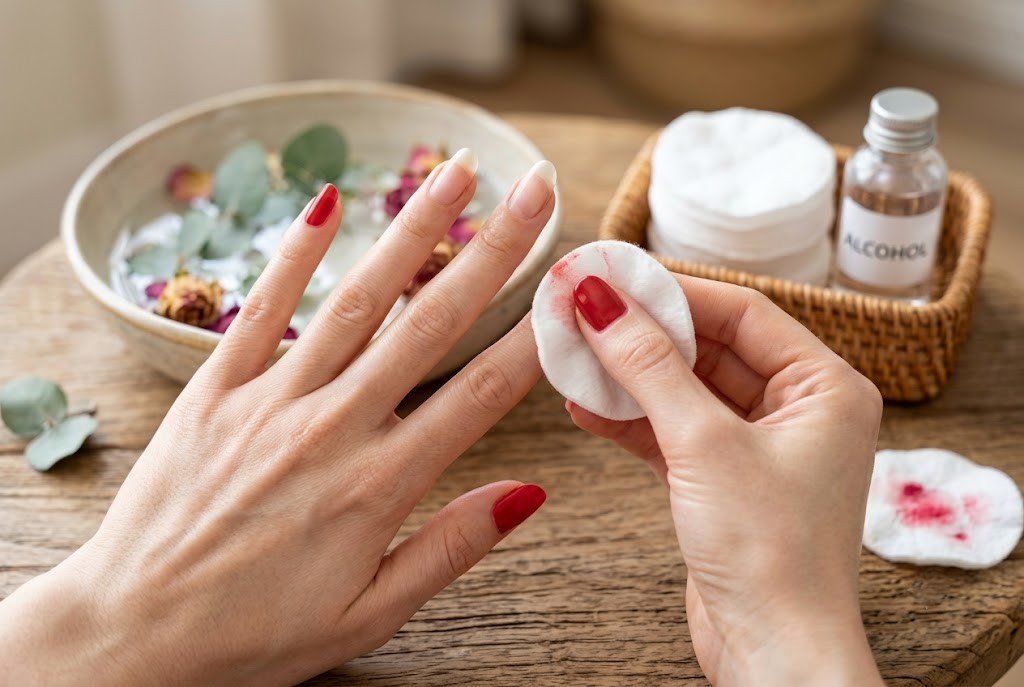
Steps 1 and 2: Remove and Shape
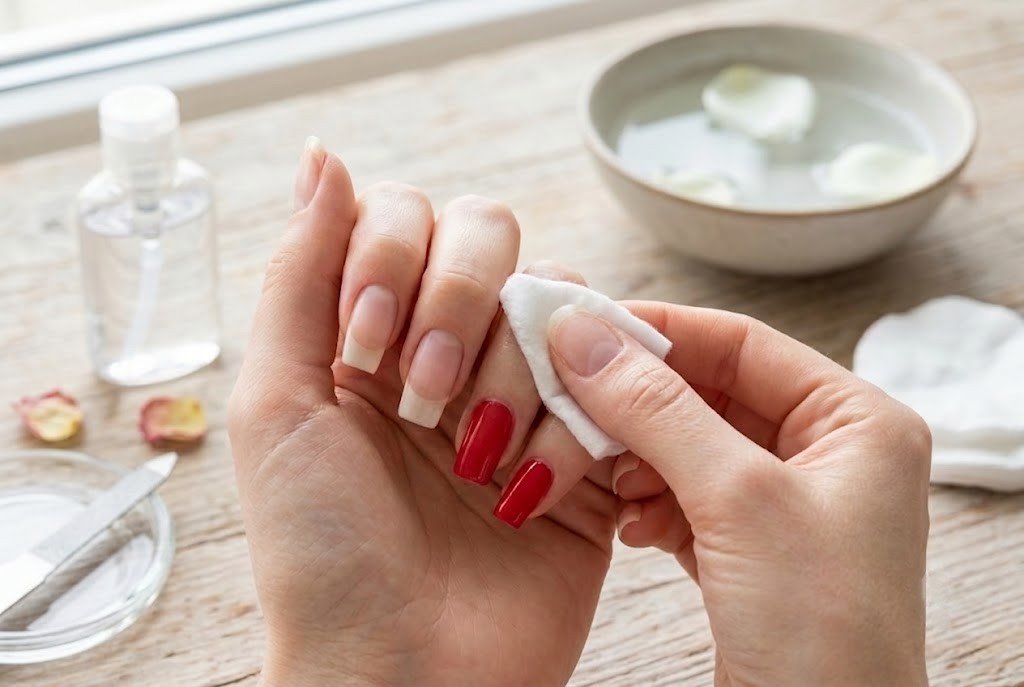
Start with cleaning nails with a cotton pad saturated with nail polish remover by holding it flat against each nail for a few seconds before wiping. Do not rub immediately, as it will just spread the polish around.
Once your nails are bare, it’s time to clip them to your desired length. File in one direction only instead of sawing back and forth. Sawing the nail edge back and forth creates micro-tears in the keratin layers that cause splitting and peeling weeks later. So make sure you file in one direction with light pressure and smooth strokes.
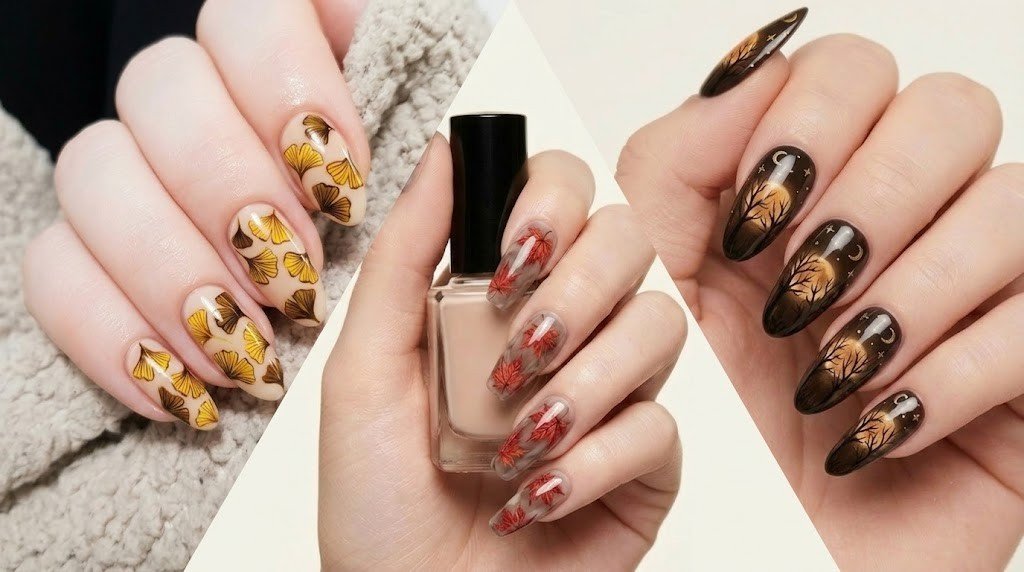
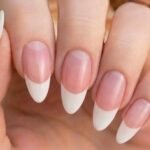
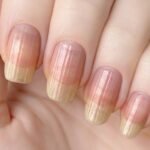
Not sure which nail shape suits your nail bed? Rounded and oval shapes work on almost every hand, where squoval and square shapes with softened corners are the most low-maintenance for everyday wear.
Steps 3 and 4: Cuticle Care
You should completely avoid dipping your hands in water before starting a manicure because it damages the lifespan of the manicure, even though many guides recommend it. The nail plate expands slightly by absorbing water and causes the polish applied over a waterlogged nail plate to lift as the nail contracts while drying, and that is where your early chips come from.
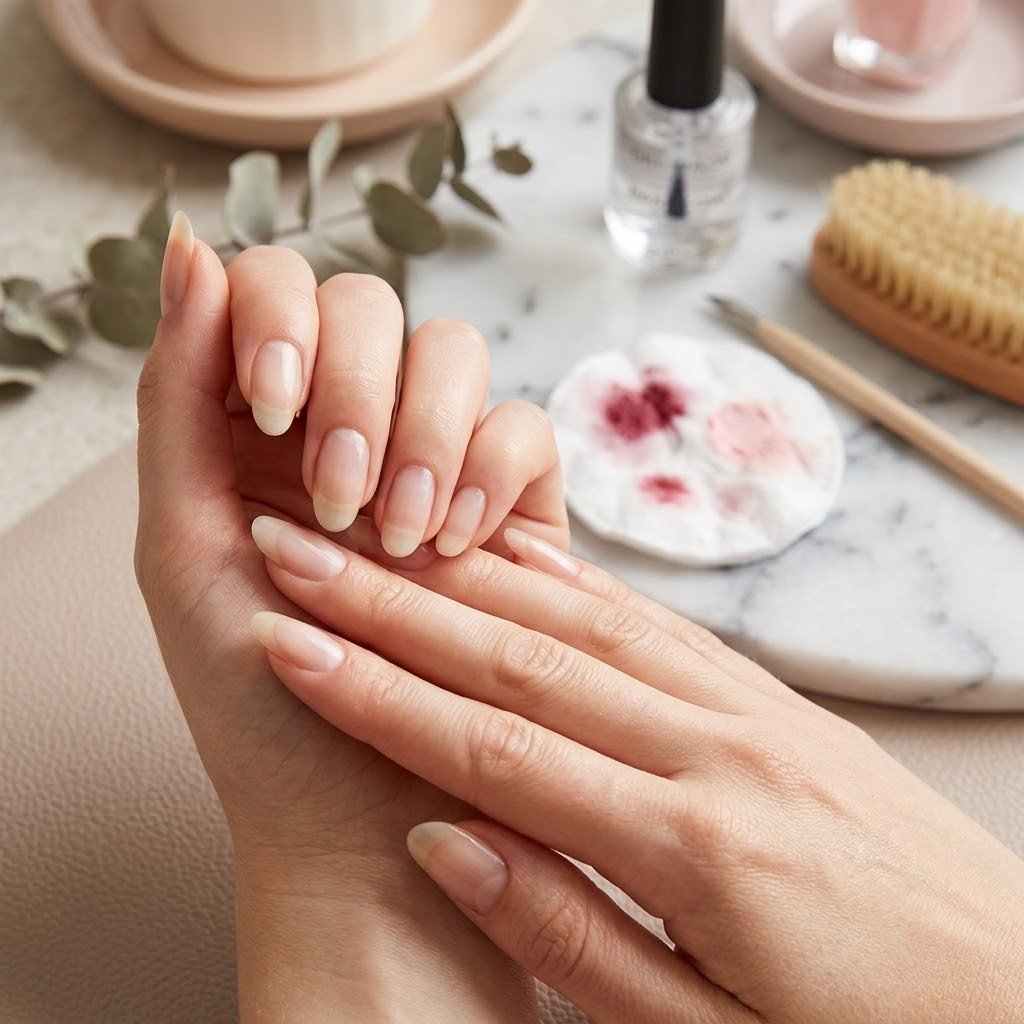
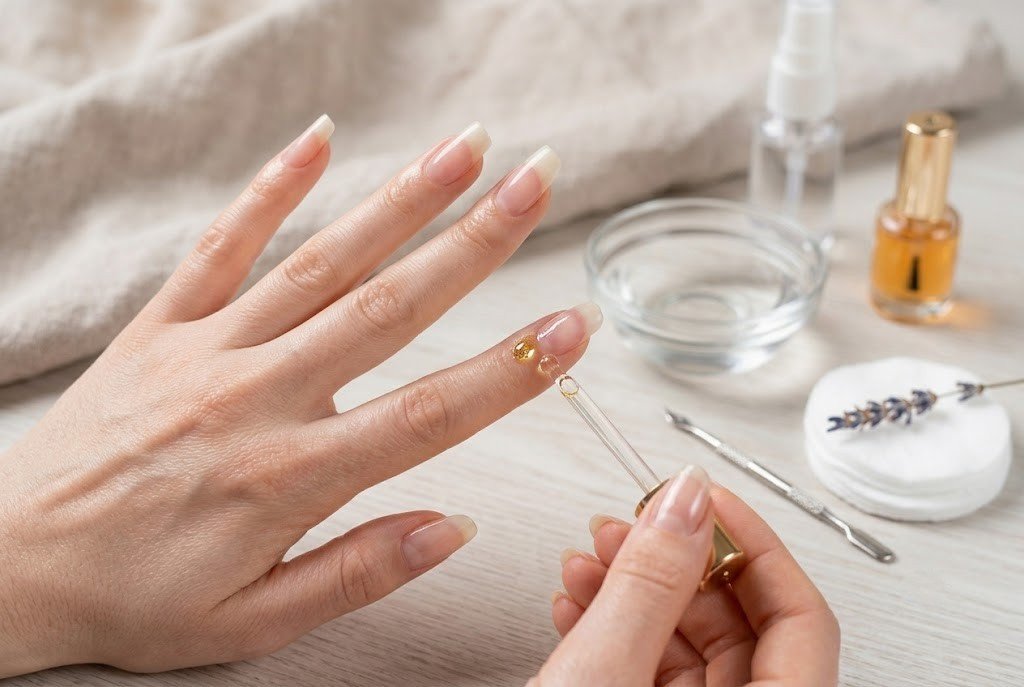
Apply a small amount of cuticle oil to the base of each nail instead of soaking in water, and let it sit for two minutes until it softens the cuticle without waterlogging the nail itself. Then use your cuticle pusher to gently push back the cuticle, moving the living tissue away from the nail plate without cutting. The cuticles are a protective seal between your nail fold and your nail matrix, so cutting them means opening a path for bacteria.
Use a dry cotton bud to remove any remaining lifted, dead skin from the nail plate surface after pushing back cuticles.
Step 5: The Dehydration Step
This is the step that is the most important one for longevity, but almost no beginner guides mention it.
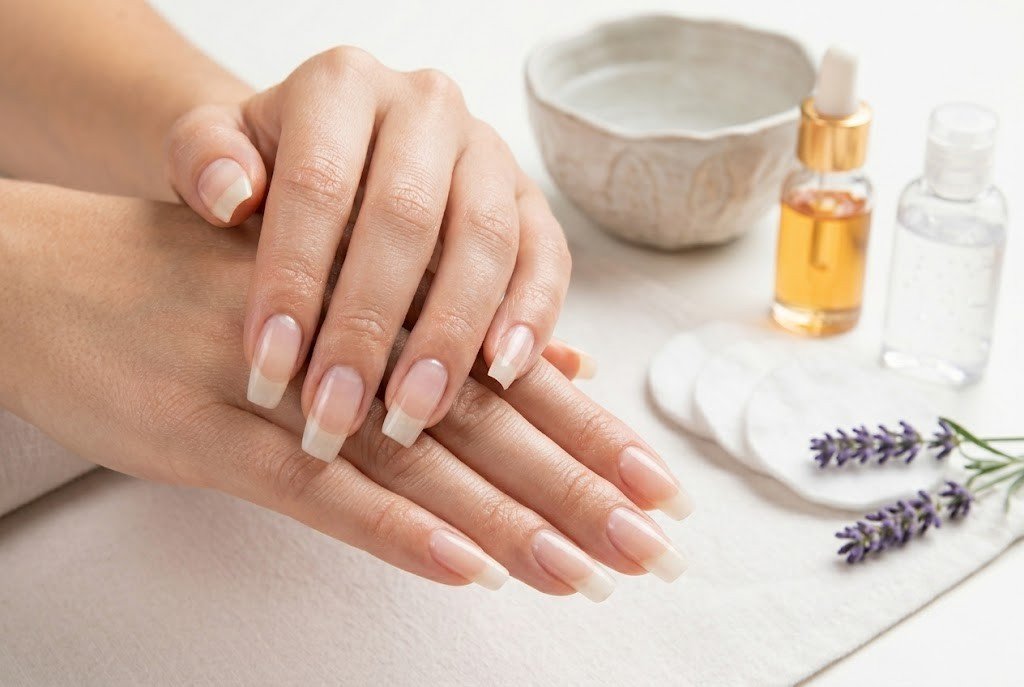
Take a fresh cotton pad and saturate it lightly with acetone or pure rubbing alcohol, then wipe each nail plate clean. You might have touched your nails after applying cuticle oil, so there is residue on the surface that’s not visible.
Any oil or moisture sitting on the nail plate will prevent the base coat from bonding properly. Wipe it off. Nails should feel slightly dry and look matte before you reach for the base coat. That matte surface is what you want.
Work quickly after this step without touching your nails or applying any hand cream.
Steps 6 and 7: Base Coat and Colour
Apply only one base coat in thin and even strokes, then let it dry for two full minutes, not the thirty seconds most people give it.
Thin coats matter a lot for colour paints. Two thin coats will always outlast one thick coat because a thick coat stays wet in the centre long after the surface feels dry, which eventually causes dents and peels. Load the brush lightly with colour paint and wipe one side of it on the bottle neck before you start, and work with a relaxed hand.
Step 8: Top Coat and Tip Wrapping
Apply the top coat the same way you applied the colour coats, with thin and smooth strokes. One movement that most people skip entirely is capping the free edge. Must cover the free edge with a top coat by running the brush across the very tip of each nail. This is called tip wrapping, and it is the single most effective thing you can do to prevent tip chipping.
Let your nails dry for at least ten minutes before doing anything with your hands, and if you’re in a hurry, then fast-dry drops speed this up significantly.
How to Paint Nails Perfectly
Here is the technique that actually makes polish look clean and professional.
Start with your non-dominant hand, as your steadiest hand is your painting hand, so use it when it is freshest, not after it has already done ten nails.
Apply the polish using exactly three strokes per nail by sweeping once down the centre while staying just clear, and then execute a single stroke down each side, but always keep the brush away from the skin. Leave a paper-thin gap between polish and cuticle to avoid mess and make the manicure look cleaner.
Always paint your hand on a stable surface to have clean lines, and rest the painted hand on a flat table. A small brush dipped in acetone cleans up any colour that strays onto the skin around the nail more precisely than a cotton bud that drags fibres across wet polish.
How to Make Nail Polish Last Longer
Longevity starts in the prep, and if you did the prep steps correctly means you have already done the hardest part, but what you do in the days after matters too.
Day 1: Avoid water for at least one hour after your manicure is done, even if the polish feels dry, because the layers beneath are still curing.
Days 2 and 3: Apply a fresh thin layer of top coat to refresh the seal and add another barrier against chips.
Every day: Apply cuticle oil daily to keep nails hydrated and flexible. Dry nails flex and crack under the polish, which is where chips begin at the cuticle edge.
Always: Wear gloves for dishes and cleaning. Mayo Clinic flags repeated water exposure as one of the main causes of splitting and peeling. Hot water and harsh chemicals from cleaning products break down the top coat faster than anything else. The single habit of wearing gloves genuinely doubles how long a regular manicure at home lasts.
How long does nail polish last with proper care? Realistically, regular nail polish lasts above seven to ten days without major chipping if a solid base coat is applied with thin colour coats, a top coat, and daily habits.
Mistakes That Ruin an At-Home Manicure
Skipping the dehydration step. Oil and moisture on the nail plate are invisible, but it completely prevents proper adhesion, so do not skip wiping with acetone before every base coat application, every single time.
Filing back and forth. It feels faster, but the damage it causes to the nail edge at a microscopic level is not worth it. File in one direction, and your nails will peel far less over time.
Applying thick coats of colour. One thick coat takes three times longer to dry and chips twice as fast as two thin ones. Wipe the brush once and work lightly.
Not capping the tip. The free edge of the nail takes the most mechanical stress while typing or using nails as tools for opening things. If the tip is not sealed with a top coat, that is exactly where your manicure will fail first.
Cutting your cuticles. Dermatologists are clear on this: the cuticle is a functional barrier protecting the nail matrix, not just cosmetic overgrowth. Push it back gently, or if the skin is too overgrown, then let a professional cut it.
Frequently Asked Questions About At-Home Manicures
What does a manicure include?
A standard manicure includes removing old polish, shaping and filing the nails, caring for the cuticles, and applying base coat, colour, and top coat. More thorough versions add a hand soak, hand massage, exfoliation, and cuticle oil treatment. At home, you can replicate every one of these steps with basic tools.
How many coats of nail polish should I apply?
Two thin coats of colour are the standard. One coat often gives patchy and uneven coverage. Three coats increase dry time significantly and make chipping more likely because the layers take longer to fully cure. Two thinly applied coats give the best balance of coverage and durability.
How long does nail polish last at home?
With proper nail prep and a quality top coat, regular nail polish should last seven to ten days before significant chipping. The biggest factors are the dehydration step before the base coat, tip wrapping with top coat, and daily cuticle oil application. Skipping any of these shortens that window considerably.
How to do a manicure at home without it looking messy?
The two most common causes of a messy at-home manicure are getting polish on the skin around the nail and skipping clean-up. Leave a thin gap between the polish and your cuticle as you apply for a cleaner look than going right to the edge. Then use a fine brush dipped in acetone to remove any stray colour before it dries fully.
Getting a genuinely good at-home manicure is less about talent and more about sequence. The prep matters more than the polish, and the dehydration step matters more than the brand. Thin coats and tip wrapping matter more than how expensive your top coat is.
Do this once following every step and notice the difference in how long it lasts. Then it becomes a habit, and habit is what turns a frustrating thirty-minute rush into a ritual you actually enjoy.
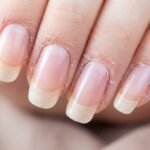
If your nails chip, peel, or break regularly, even between manicures, that is worth looking into separately. Our guide to why nails become brittle and what your body might be signalling covers the most common causes.